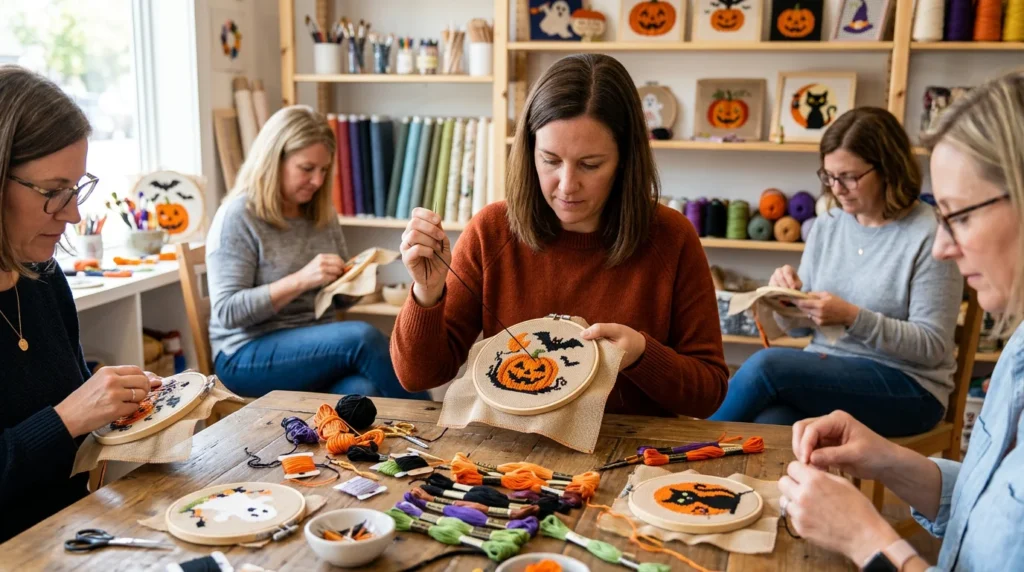
Quick answer: A Halloween needlepoint class typically teaches you how to start a canvas neatly, choose threads, and stitch a seasonal design with even tension and clean edges. You’ll usually get a quick demo, then guided practice while you work on your own project, with help correcting common mistakes. Expect to leave with a clearer plan for what to stitch next, what tools you need, and how to avoid frustration at home.
What the Class Usually Covers
A good Halloween-themed session focuses on practical skills you can reuse all year: how to read a painted or charted canvas, how to start cleanly (away waste knot, pin stitch, or loop start where appropriate), and how to keep stitches consistent so your pumpkin or haunted house doesn’t look lopsided. You’ll also learn how to choose threads that give the effect you want—matte wool for cozy coverage, silk for shine, or metallics for sparkle—without creating lumps or shredding.
Most classes include guided stitch practice on the actual project, not just a sampler. That means you’ll work through the tricky parts: curves on jack-o’-lantern faces, tiny corners on lettering, and color changes that can leave distracting “railroad tracks” if tension gets uneven. If you’re looking for a seasonal project with structured help, a Halloween needlepoint class is usually designed to get you past the early confusion quickly so you can enjoy the stitching.
A typical structure looks like this: the first 10 minutes are setup (tools, thread prep, getting oriented on the canvas), then a short stitch demo, then guided practice with check-ins as you stitch, and a wrap-up with next steps so you know what to do between sessions.
What Varies by Class
Before you sign up, ask a few quick questions so you’re not surprised:
How long is the class session? How many people are in the class? Are the canvas and threads included, or do you bring your own? Is there a kit option you can buy that matches what’s being taught? Does the class cover finishing steps (like blocking, backing, or turning it into an ornament), or is finishing handled separately?
Getting clear answers upfront helps you choose the right fit for your schedule, budget, and comfort level.
What to Bring and How to Prepare
Bring whatever you already have: your canvas (painted or blank), threads you’re considering, and the tools you stitch with. If you’re new, ask ahead what’s provided versus what you should purchase. Many classes assume you’ll need a tapestry needle in a comfortable size for your canvas mesh, small sharp scissors, and a way to mark or track your place.
Comfort matters more than people think. Pack reading glasses or magnifiers if you use them, and consider a small task light if you struggle with dark colors. Halloween palettes often include black, deep purple, and navy—beautiful, but harder on the eyes. A simple habit that helps is to stop every so often, hold the work at arm’s length, and check whether your stitch direction and coverage look even.
If you’re picking a first project, keep it simple. A small ornament teaches clean starts/stops and tidy edges for finishing. A small pumpkin teaches smooth curves, color changes, and consistent stitch direction. A simple haunted house silhouette teaches filling large areas evenly and keeping straight lines crisp without pulling the canvas out of square.
Common Beginner Problems and Quick Fixes
New stitchers often fight three things: fraying thread, bumpy backs, and warped canvas. Fraying usually comes from cutting strands too long or using a needle that’s too small; a typical working length is around 18–24 inches for many fibers, shorter for metallics. Bumpy backs come from carrying thread across open areas; it can show through on light canvases and makes finishing harder. Warping happens when tension is too tight or you stitch without keeping the canvas supported.
In class, you’ll usually learn quick corrections: how to “un-stitch” cleanly without shredding the canvas, how to re-lay stitches with a laying tool (or the needle itself), and when to add a gentle blocking step before finishing. The goal isn’t perfection; it’s building habits that make the piece look crisp and make final finishing smoother.
After class, a simple next-step checklist keeps momentum: confirm what supplies you still need, double-check strand counts and stitch placement notes, and ask how to get help if you get stuck between sessions. If you want in-person guidance, contact Blue Willow Needlepoint to confirm supplies, skill level expectations, and whether you should bring your own canvas.